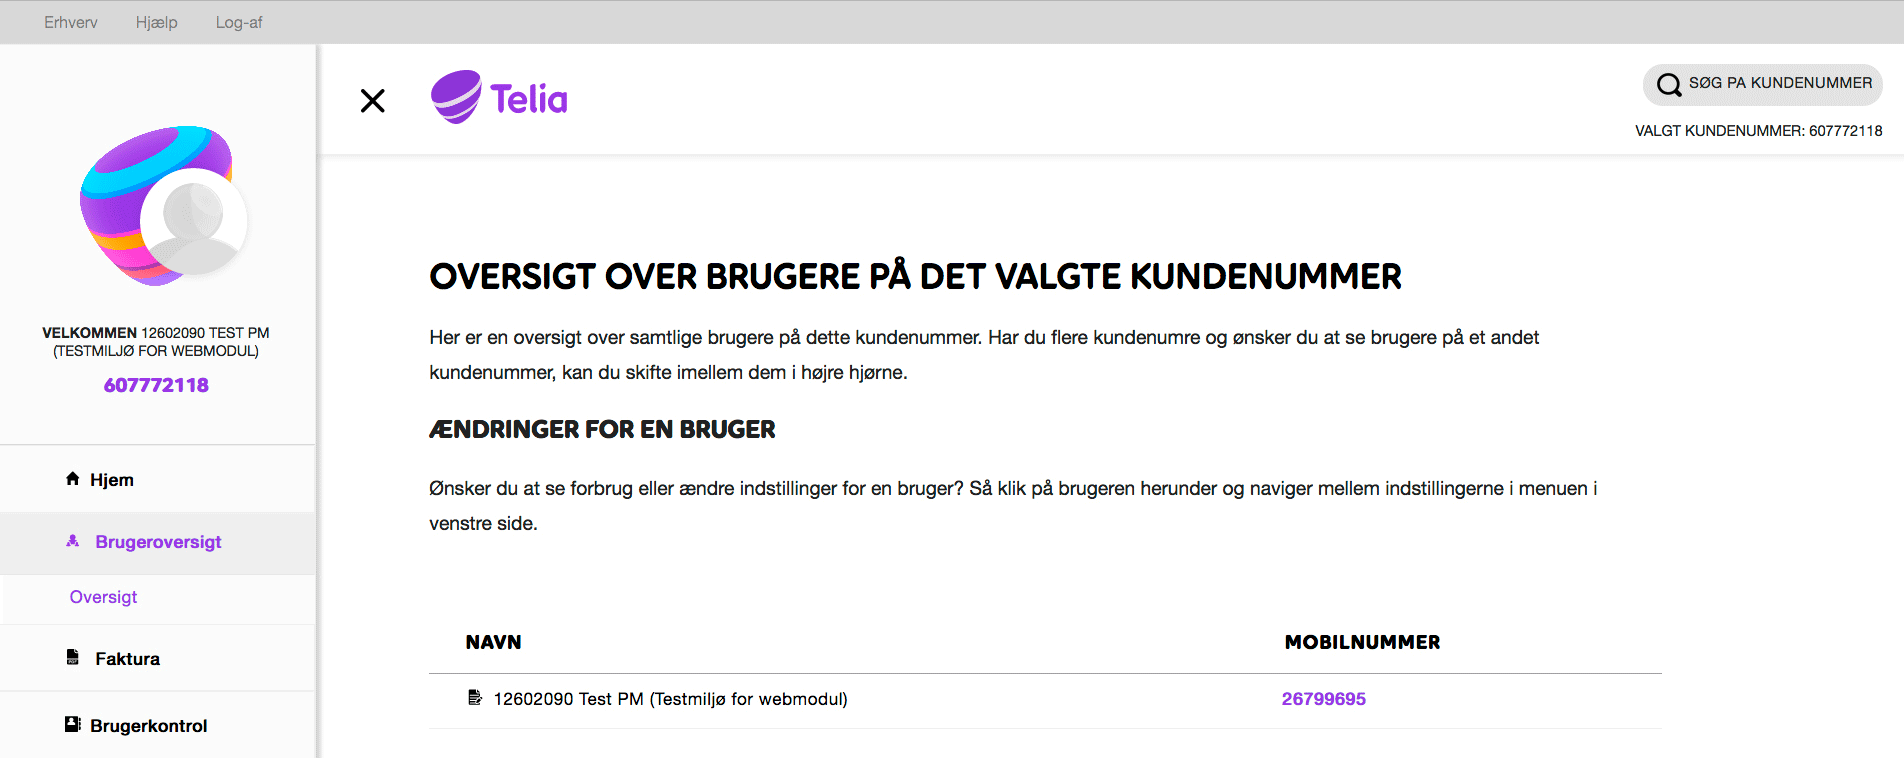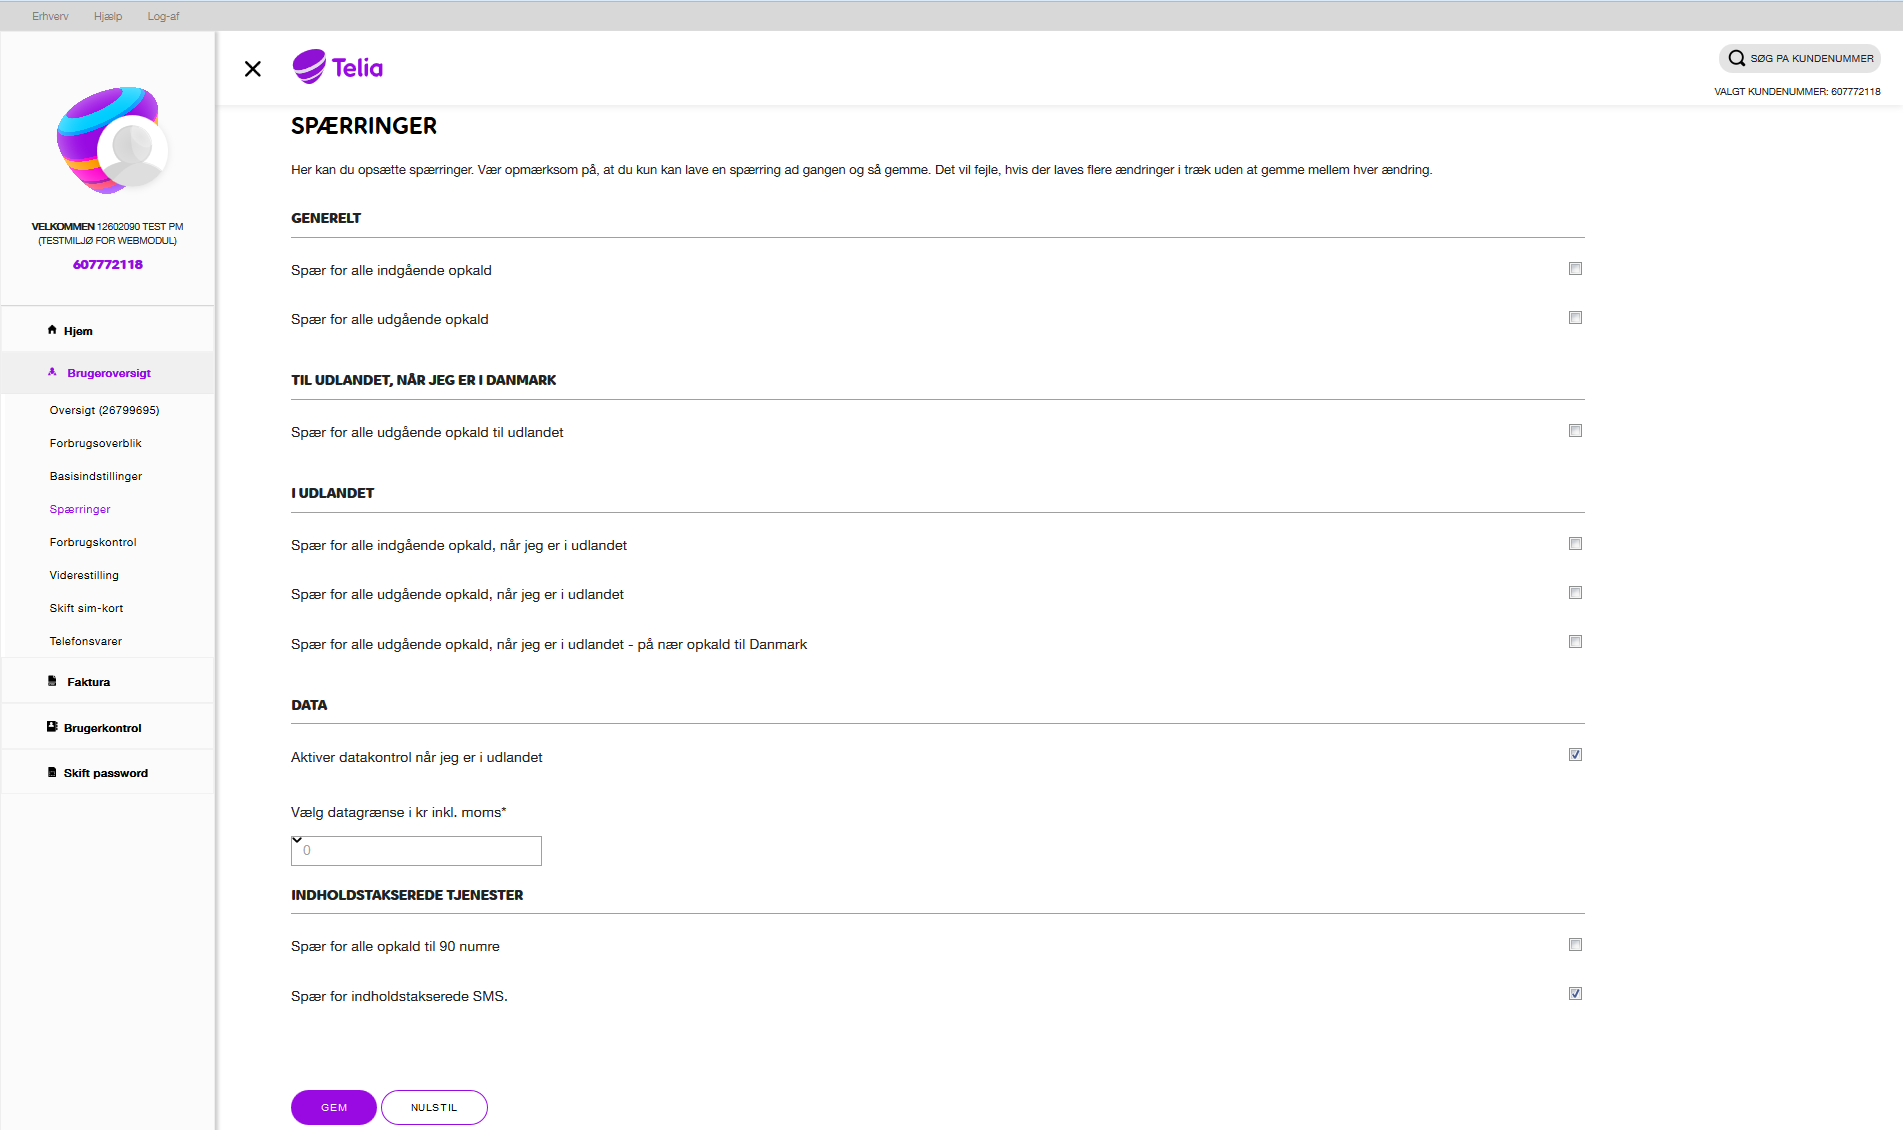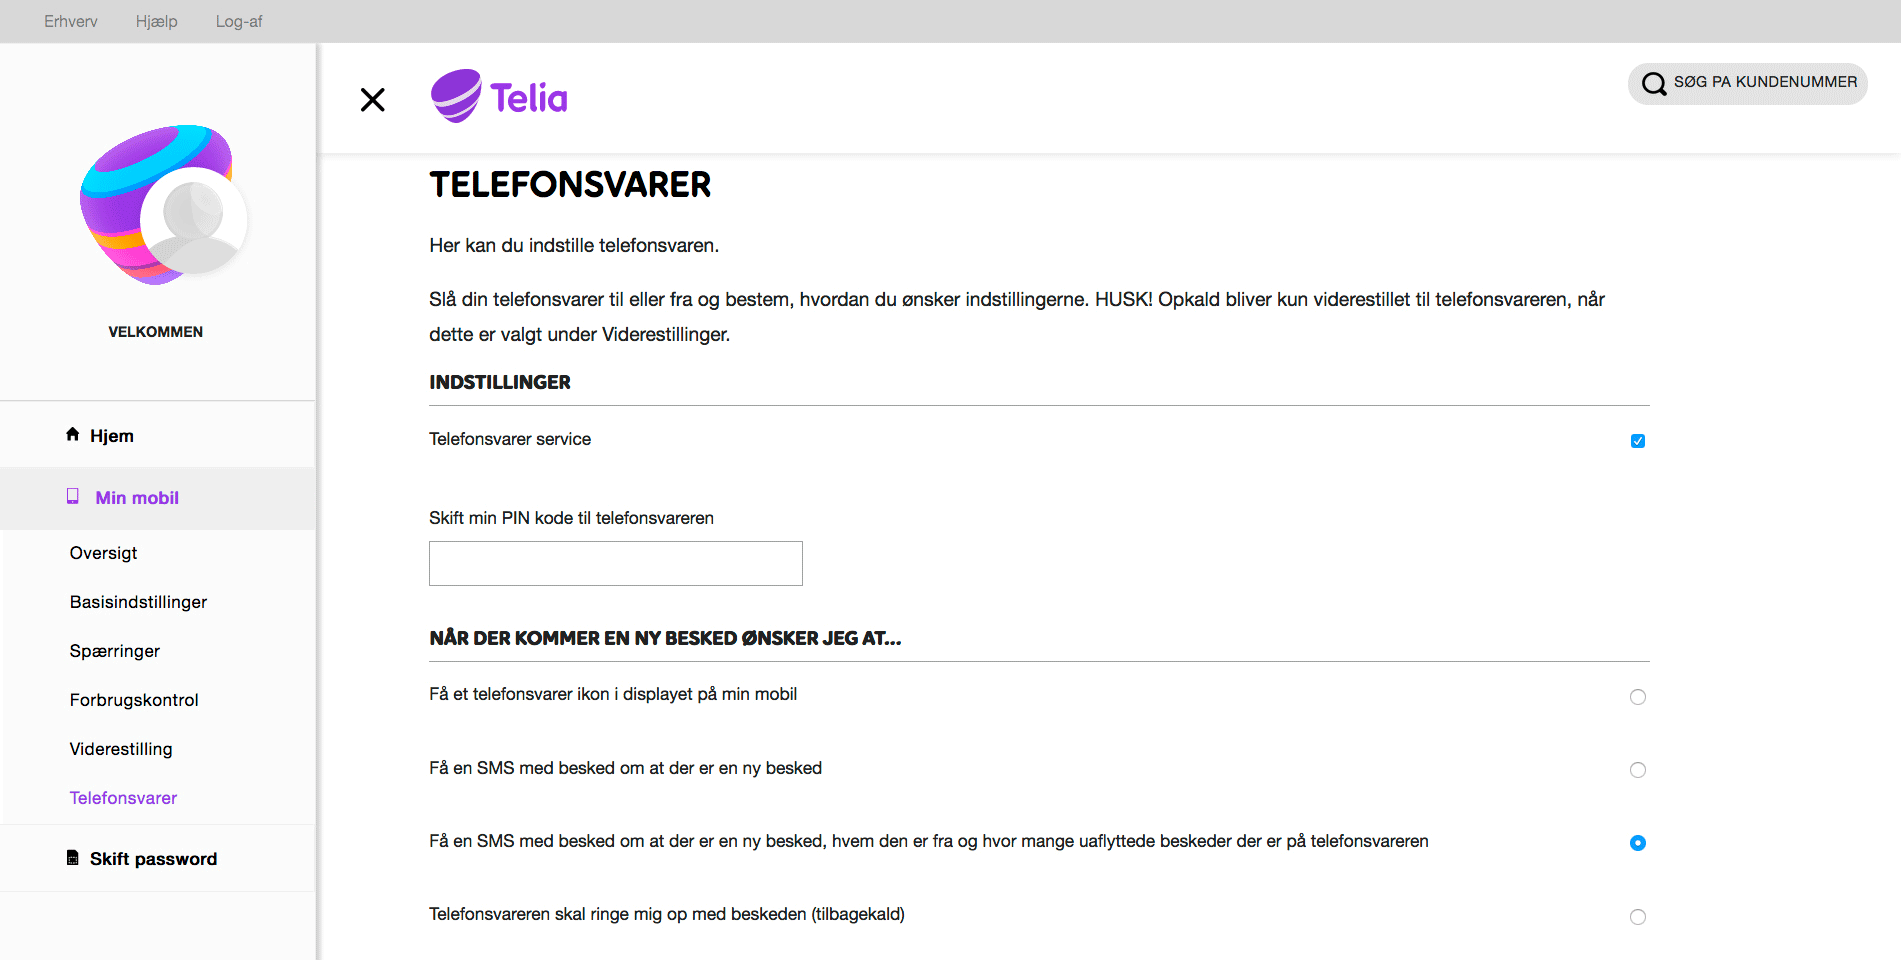
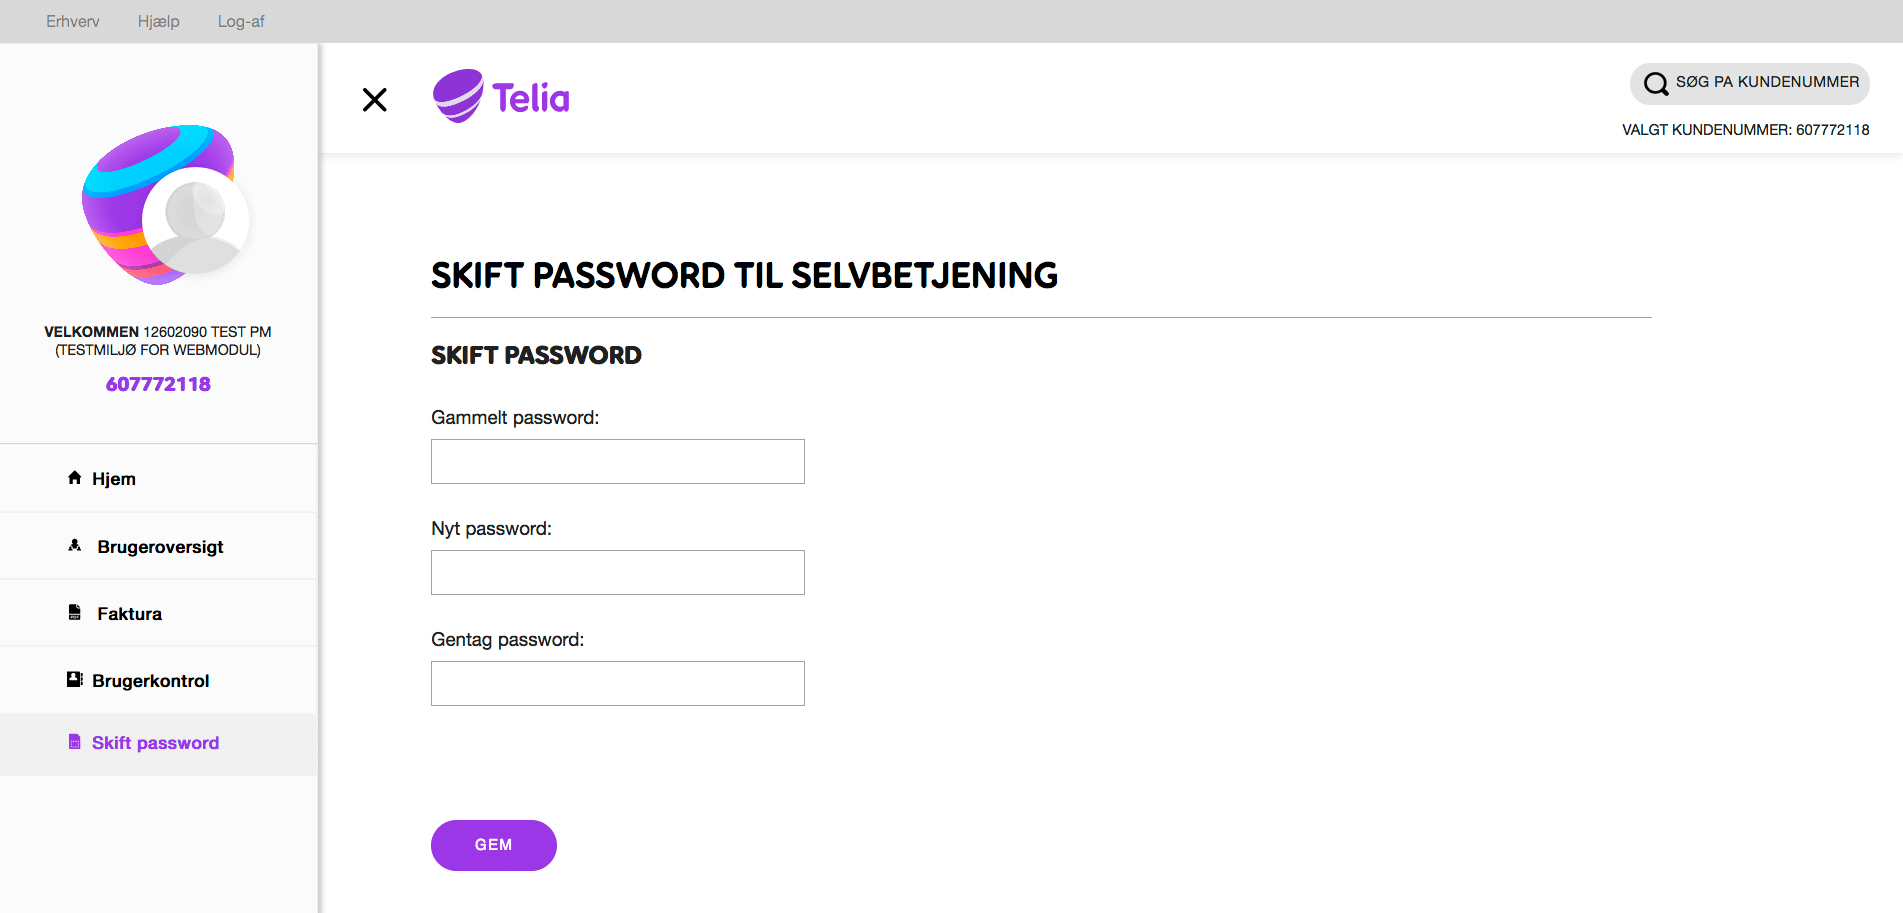
At the brugeroversigt (user overview) section you can see all the users linked to a specific customer number. When clicking on a specific user, you have access to see all details of the account of the selected user. You are also able to change the settings for the account: For example if you need to change the user's sim-card or change the limit on data use abroad. You can read more about your options below:

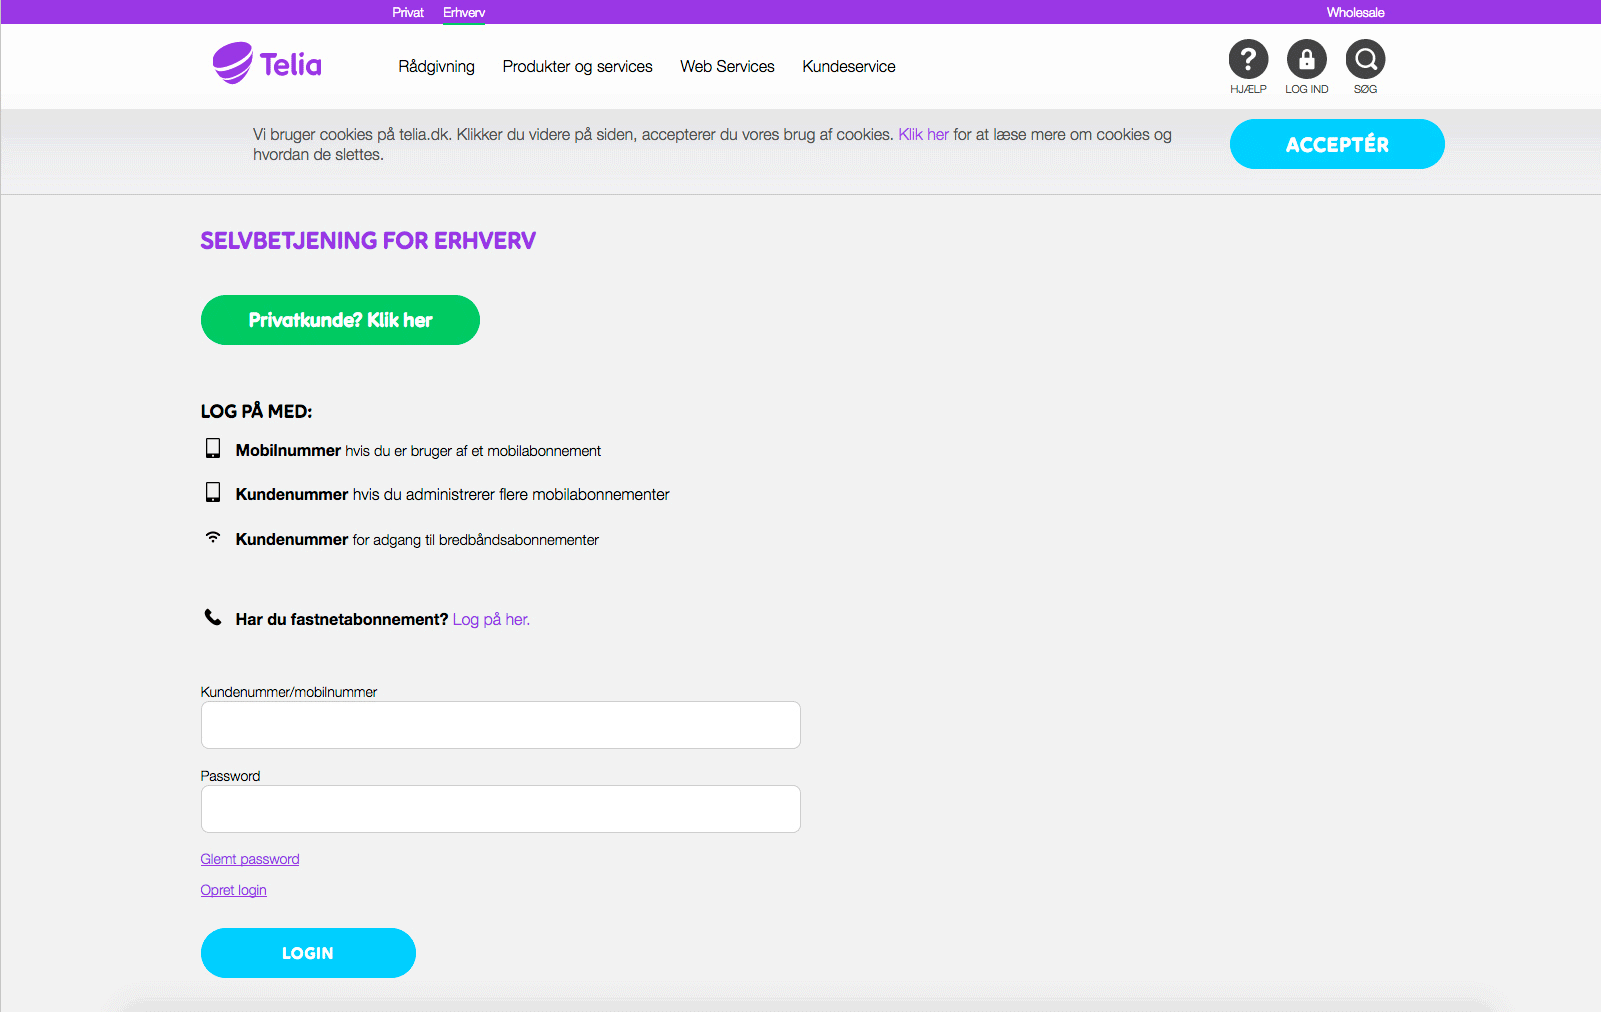
User guide for business self service
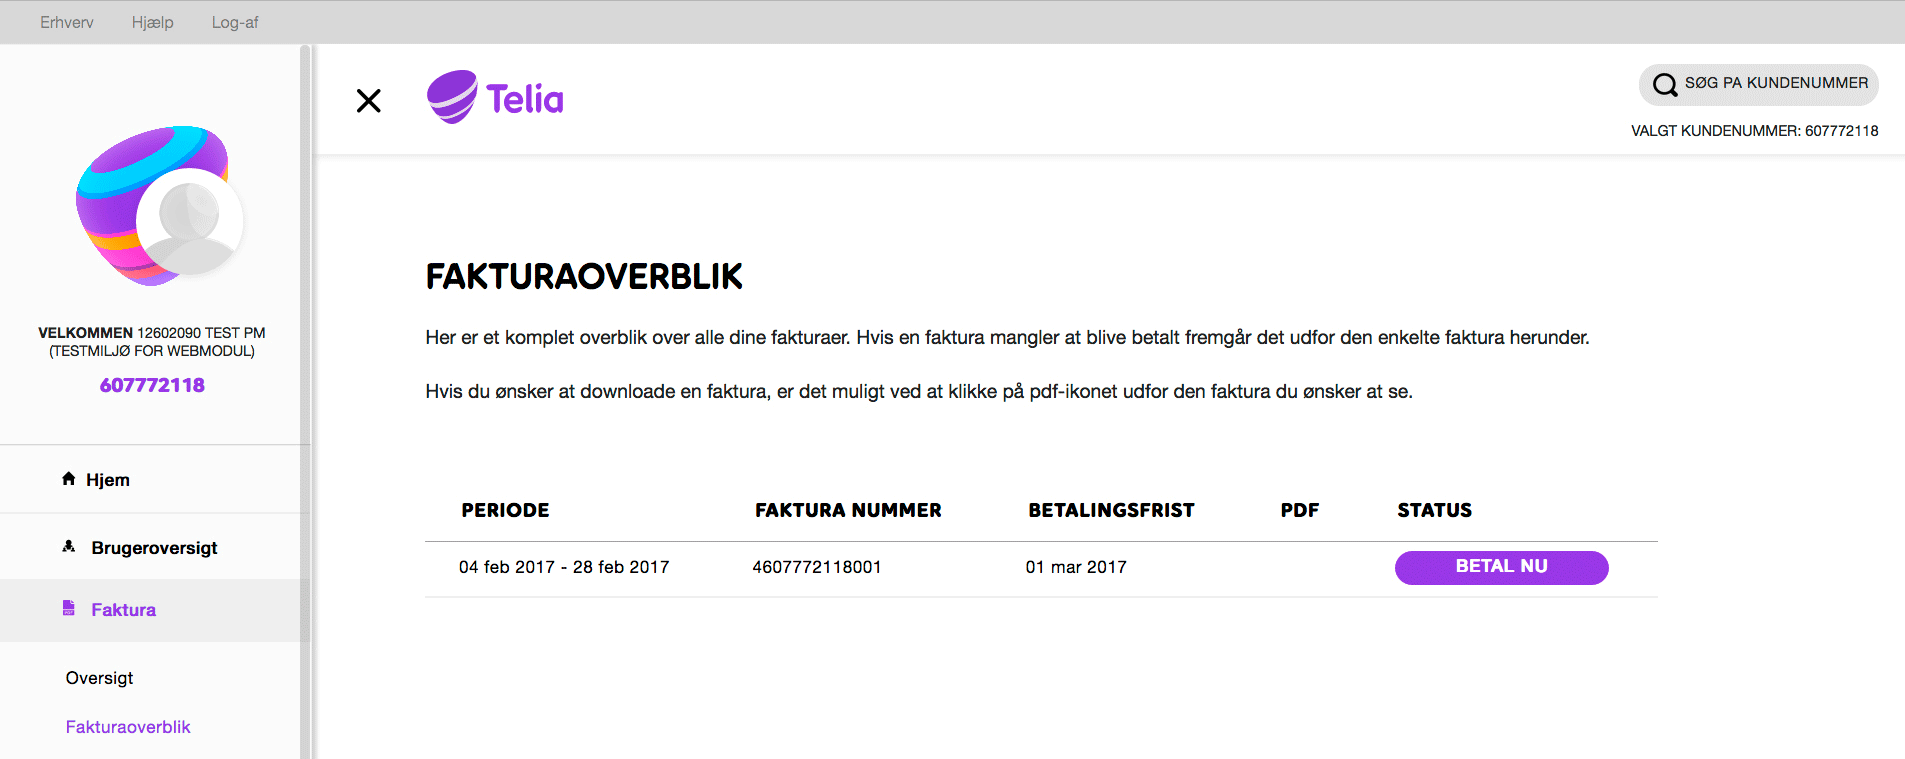
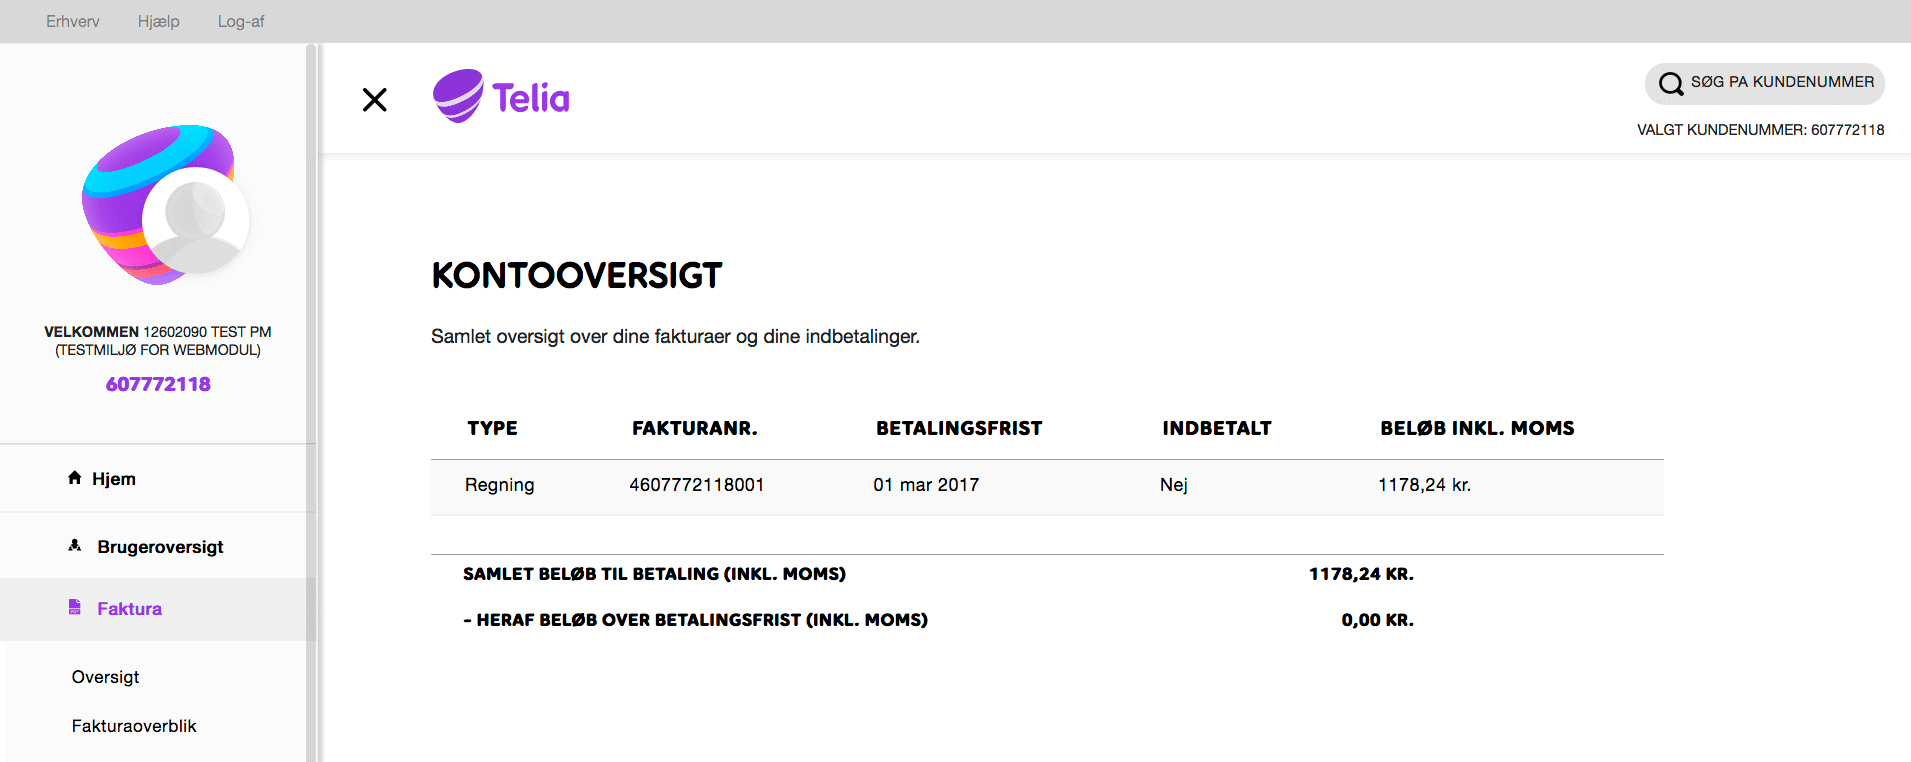
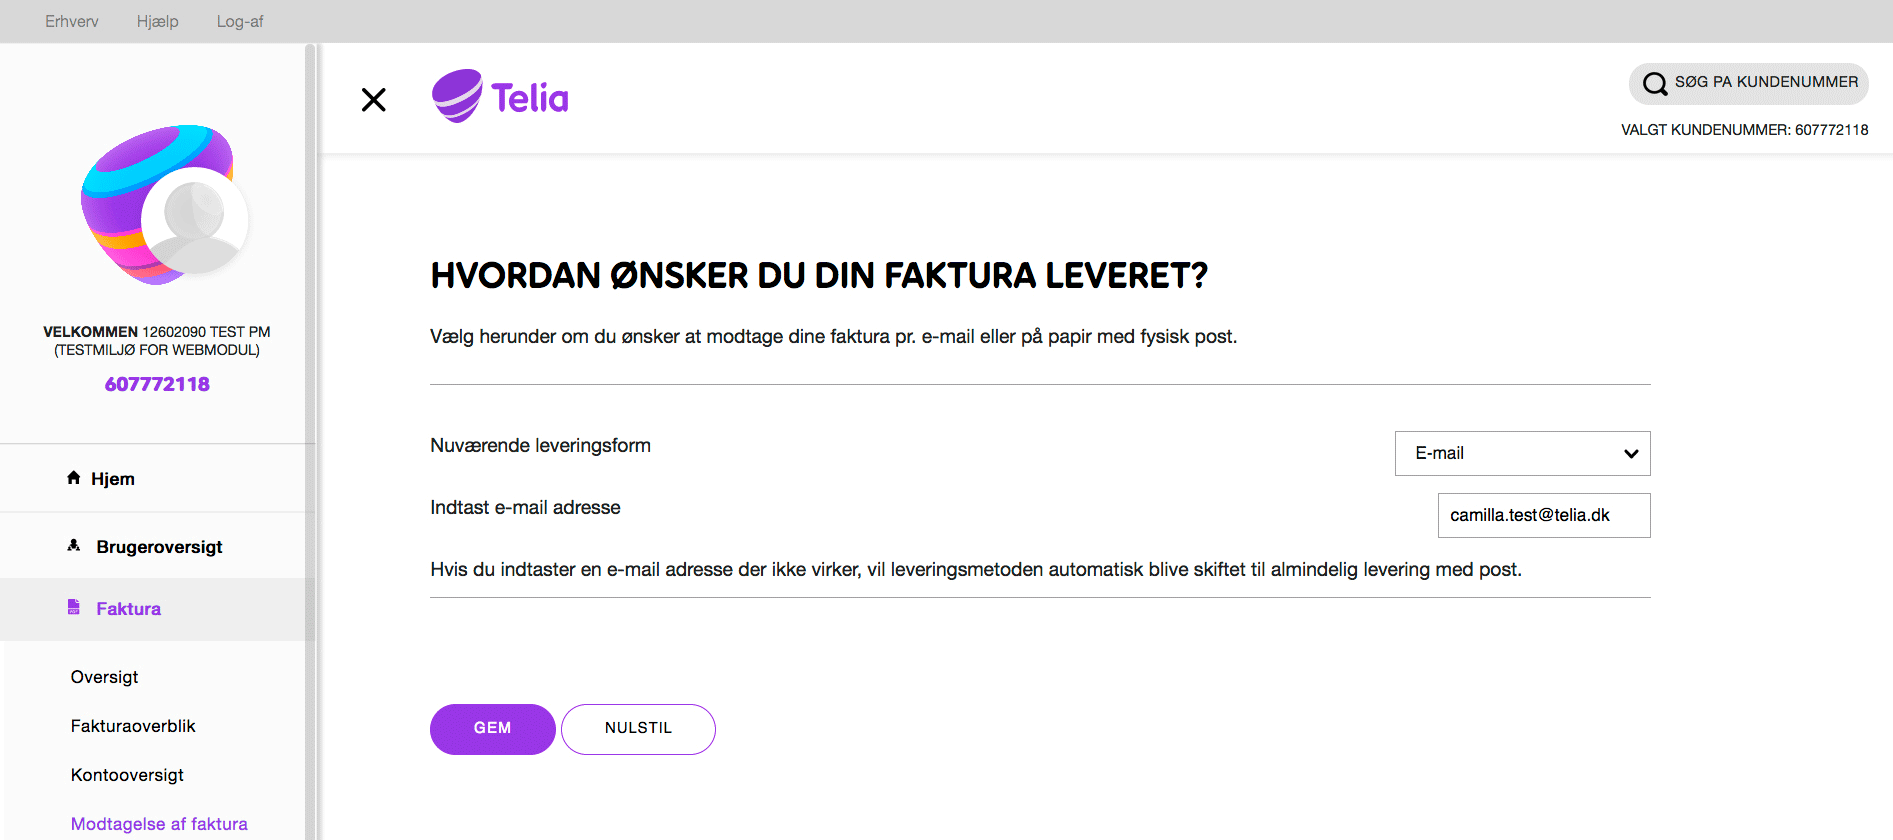
Below is the complete user guide for Telia's self service solution for business customers.
Below is the complete user guide for Telia's self service solution for business customers.